A Step-by-Step Guide to Solar Panel Reinstallation After Roof Repairs
Solar panels are a long-term investment, but roof repairs can temporarily disrupt their setup. Proper reinstallation is crucial to ensure your system functions efficiently and safely after any maintenance. Here’s a step-by-step guide to help you understand the solar panel reinstallation process following roof repairs.
1. Initial Assessment and Planning
Before any work begins, a thorough evaluation of your roof and solar panel system is necessary. Professionals inspect the panels for any previous damage and assess the repaired roof to ensure it’s ready to bear the system’s weight again. A detailed plan is created for safe removal, storage, and reinstallation, keeping your energy production goals in mind.
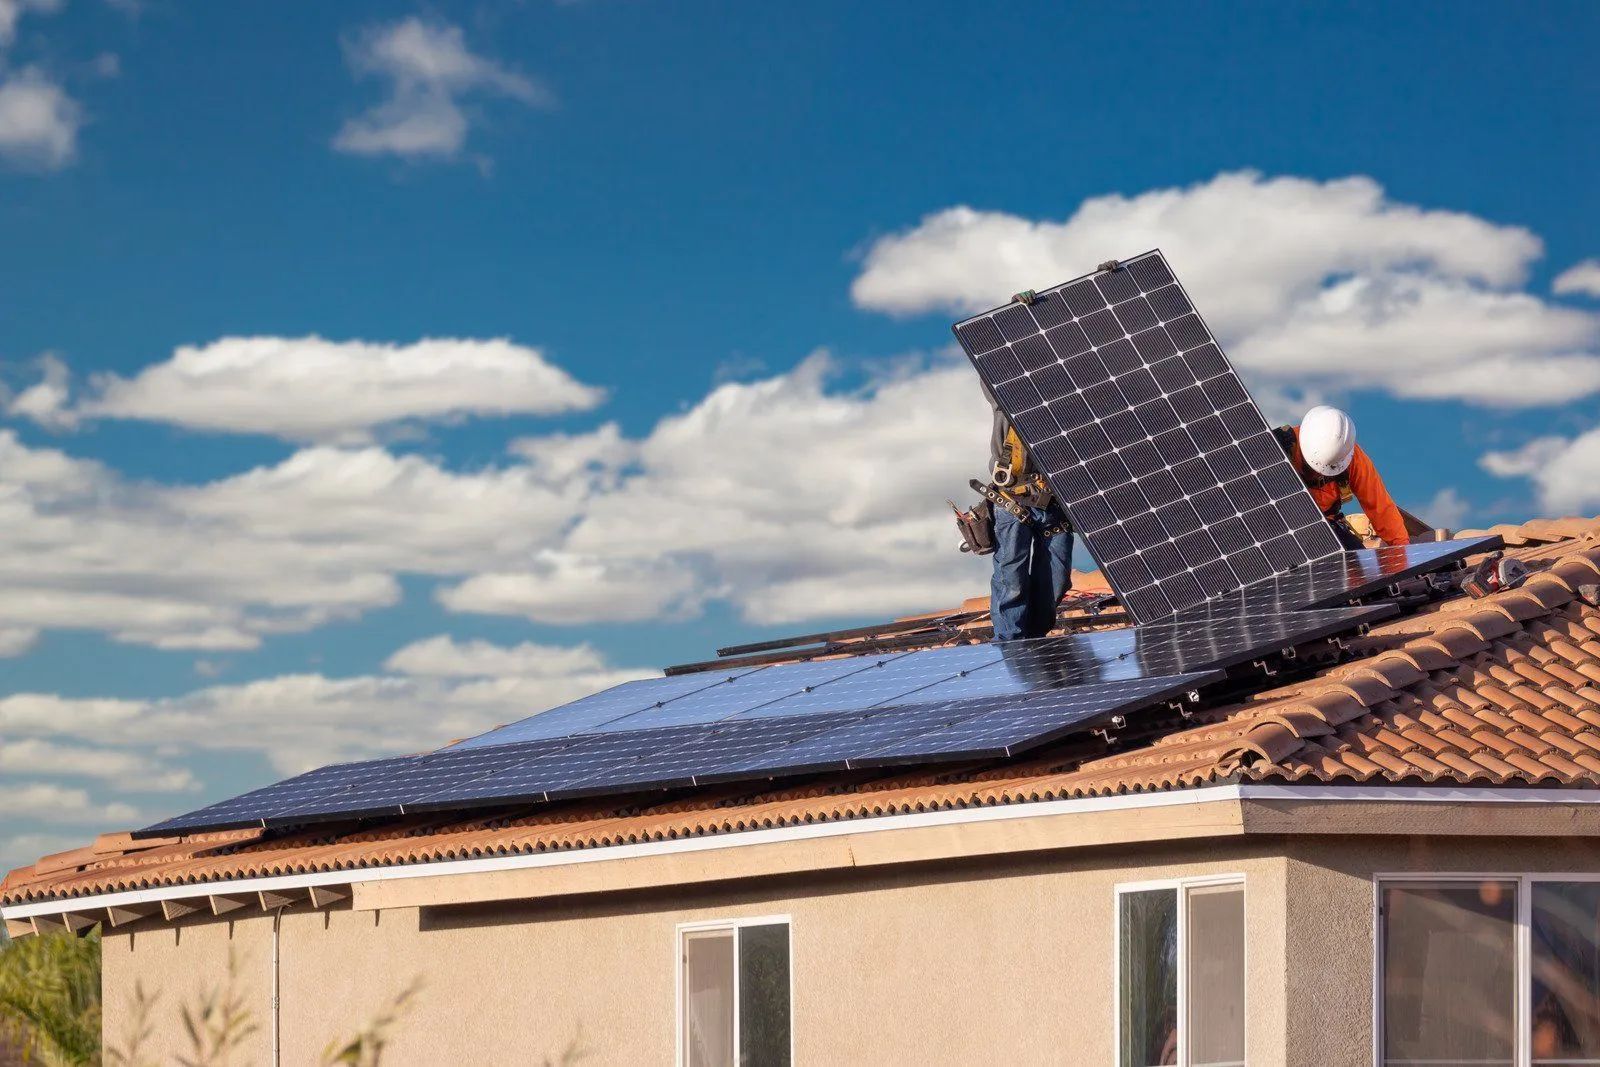
2. Safe Removal of Solar Panels
The next step is to carefully detach the panels. This involves disconnecting them from the electrical system and unbolting them from the mounting hardware. Proper handling is crucial to avoid damaging the panels, connectors, or roof. Specialized equipment is often used to lift and transport the panels to a secure storage area during roof work.
3. Secure Storage of Components
Solar panels, racking, and electrical components must be stored in a controlled environment during roof repairs. Exposure to harsh weather can damage sensitive parts, so storing them in a dry, safe location is critical. Labeling each component also simplifies reassembly later, ensuring an efficient reinstallation process.
4. Roof Inspection After Repairs
Once roof repairs are completed, a secondary inspection is conducted. This ensures the roof is properly sealed, structurally sound, and ready to handle the mounting system again. Any issues found at this stage are addressed immediately to avoid complications once the panels are back in place.
5. Reinstallation of Mounting System
The reinstallation process begins with securing the mounting system. Technicians ensure mounts are properly fastened to the roof structure, maintaining a watertight seal around each penetration point. Precision is essential here, as poor installation can lead to leaks or shifting panels over time.
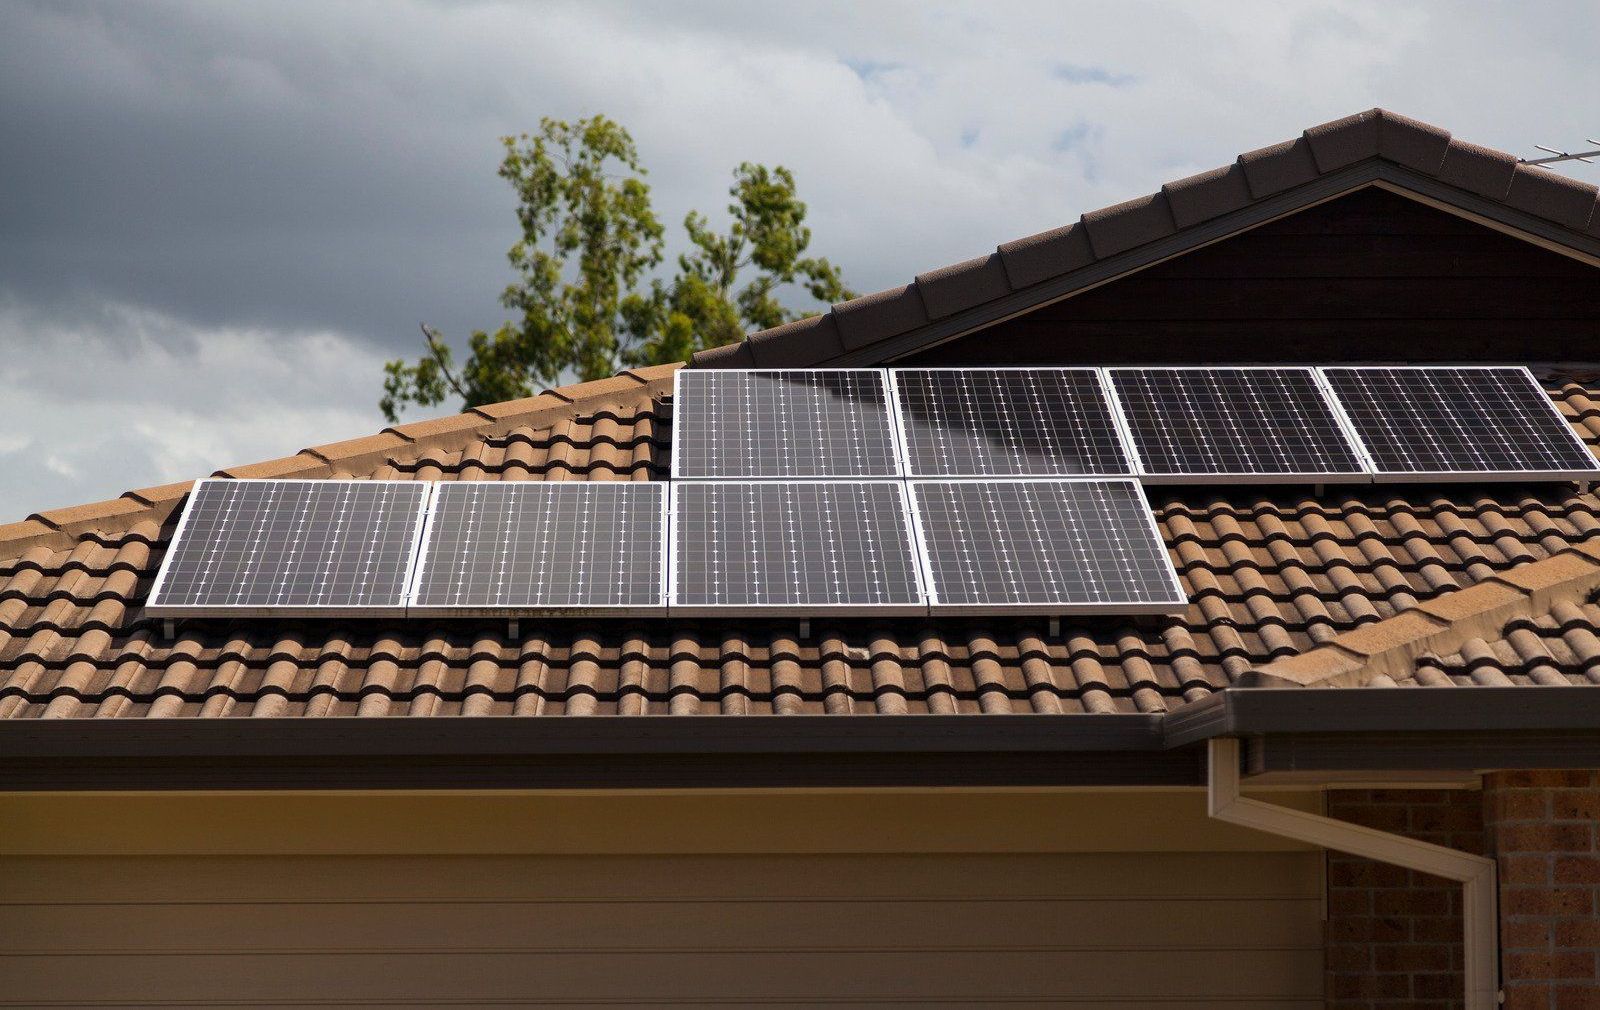
6. Reattaching Solar Panels
After the racking is securely installed, the solar panels are reattached. Each panel is carefully placed, secured, and wired back into the system according to original configurations. Technicians also check for updated wiring standards or improved technologies that could be integrated during reinstallation.
7. System Testing and Quality Check
Before the system is turned back on, a complete inspection and testing phase is crucial. This involves checking the panels, wiring, inverters, and monitoring systems to confirm everything operates correctly. Ensuring full functionality and compliance with local codes protects your investment and keeps your home energy-efficient.
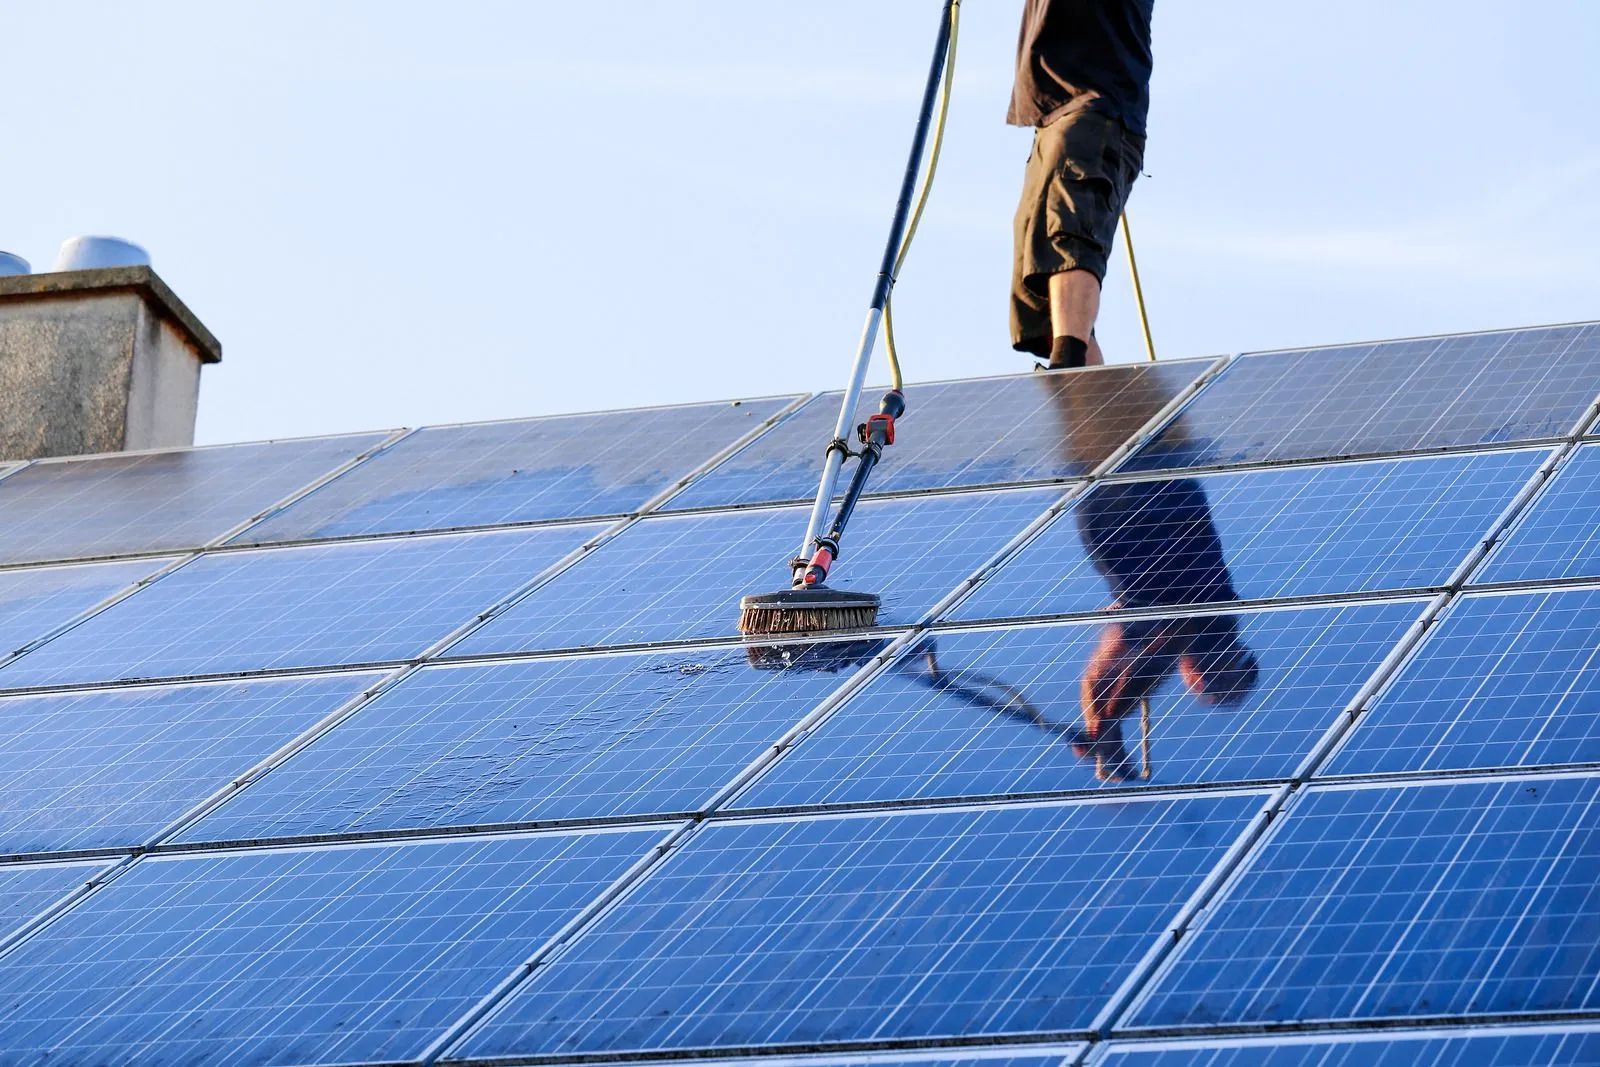
8. Monitoring and Maintenance Tips
After reinstallation, it’s a good idea to monitor your system's performance closely. Many modern systems offer app-based monitoring that can alert you to any irregularities. Scheduling periodic professional inspections can also help maintain efficiency and catch small issues before they become major problems.
When it comes to careful, professional
solar panel reinstallation after roof repairs, trust the experts at Security Solar. With 20+ years of experience serving the Round Rock, Texas community, we ensure your solar system is reinstalled with precision and care. Whether you're repairing a small section of your roof or replacing it entirely, our team is ready to help you get your solar energy system back online quickly and efficiently. Contact us today to schedule your service.